Gather Everything You Need
Before diving into the rolling process, ensure you have all the necessary supplies:
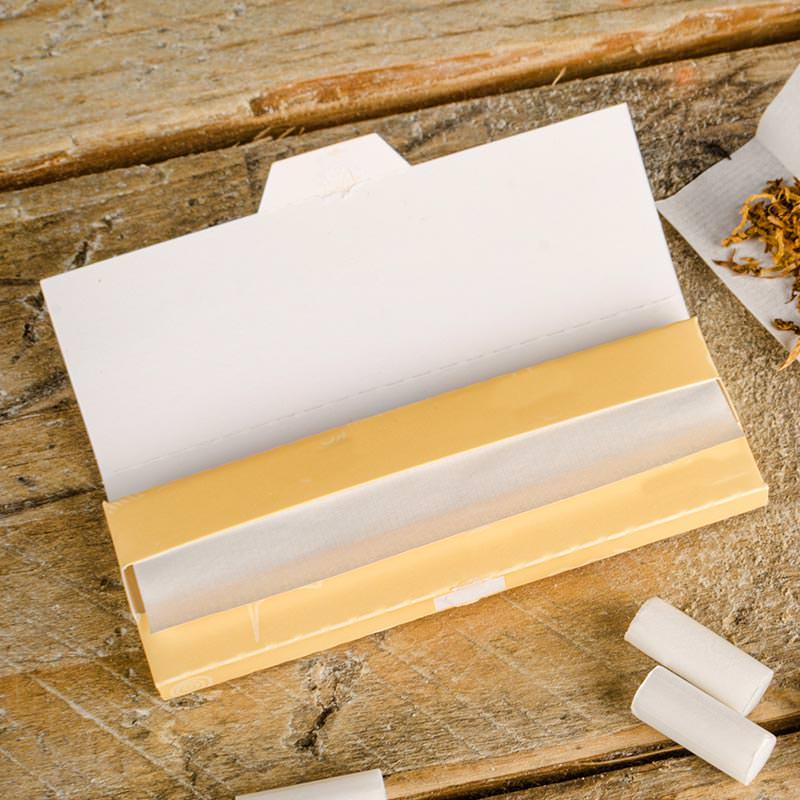


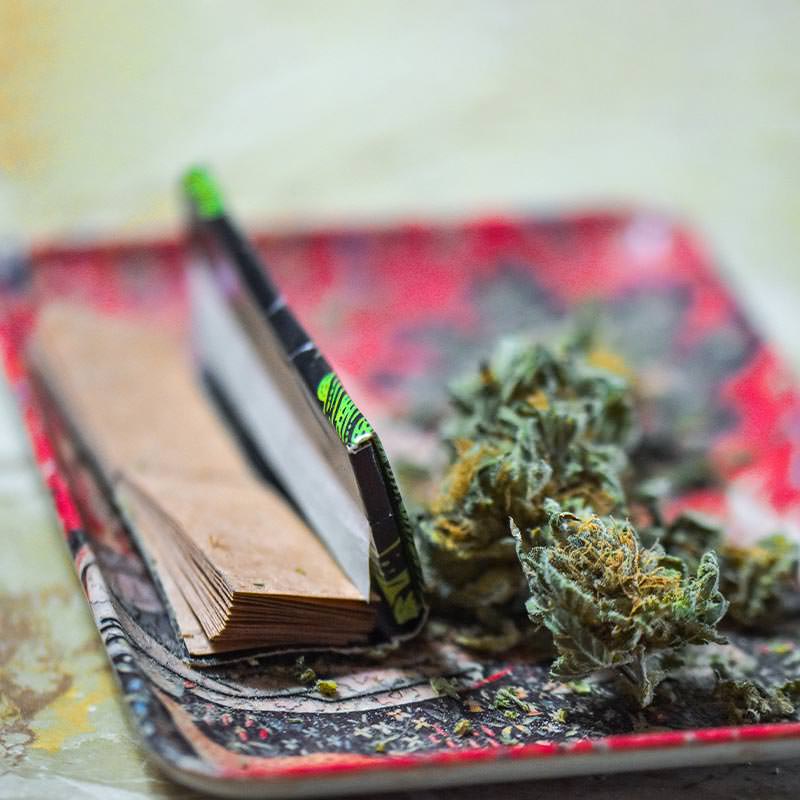

Rolling papers: Regular 1¼-inch papers will roll a joint the size of a typical cigarette. The most important factor in choosing a paper is getting the thinnest one, so you can taste the flower better. Hemp paper offers a cleaner taste while rice paper is good for starting out.

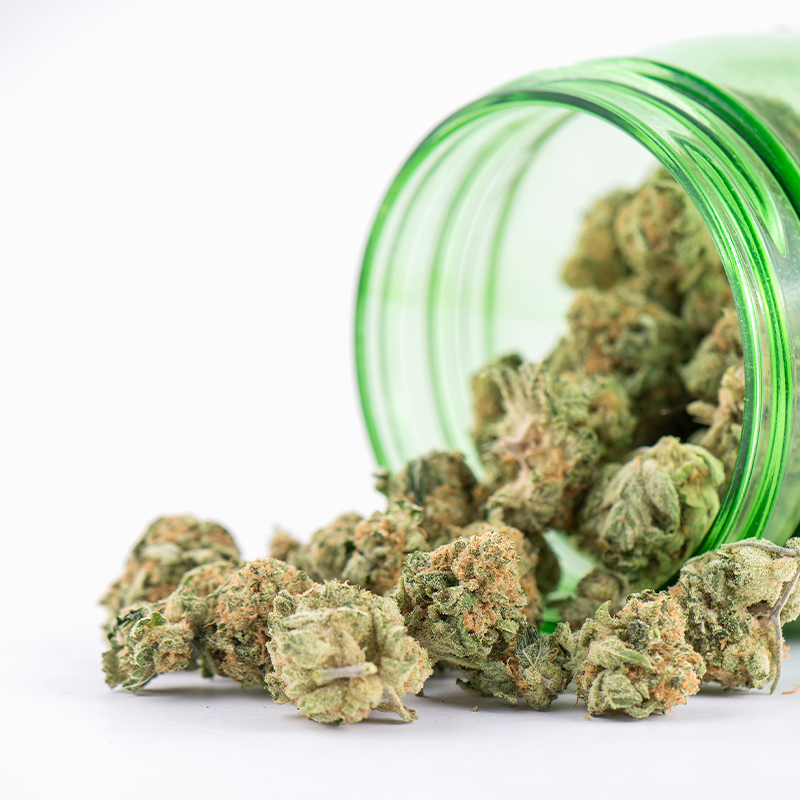
Cannabis flower: You will use about a half gram of bud for a 1¼-inch paper. Make sure it’s fresh. Old dry bud will crumble to dust when you grind it while fresh bud will sticks together, making it easier to form a joint.

Packer: You’ll need something to pack the weed down. Anything long and skinny will do, like a pen or pencil.

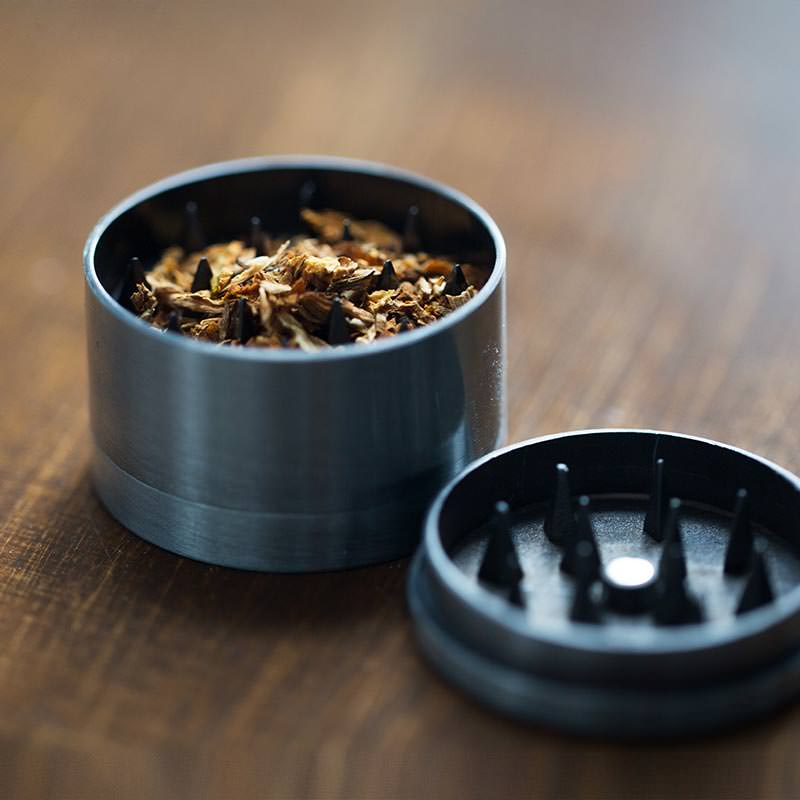
Grinder: Break up the weed beforehand to ensure an even burn. A grinder makes this fast and easy and gives a consistent texture.

Tip, Crutch or filter (optional): While you can roll a joint without a tip, a tip lends structure and shape to the smoking end of the joint. Beginners should stick to the classic cardboard ones because glass can be a bit heavy and hard to work with and cotton requires a stronger draw. You may also use a filter instead.

Rolling Tray (optional): You can use almost any flat surface object as a rolling tray (a plate, a cutting board, or an actual tray) just make sure you clean it before every use to prevent crumbs, dust, or gunk that could ruin the taste of your bud or worse yet, end up in your lungs. Beginners especially will want a tray to catch any weed that falls out while you roll.
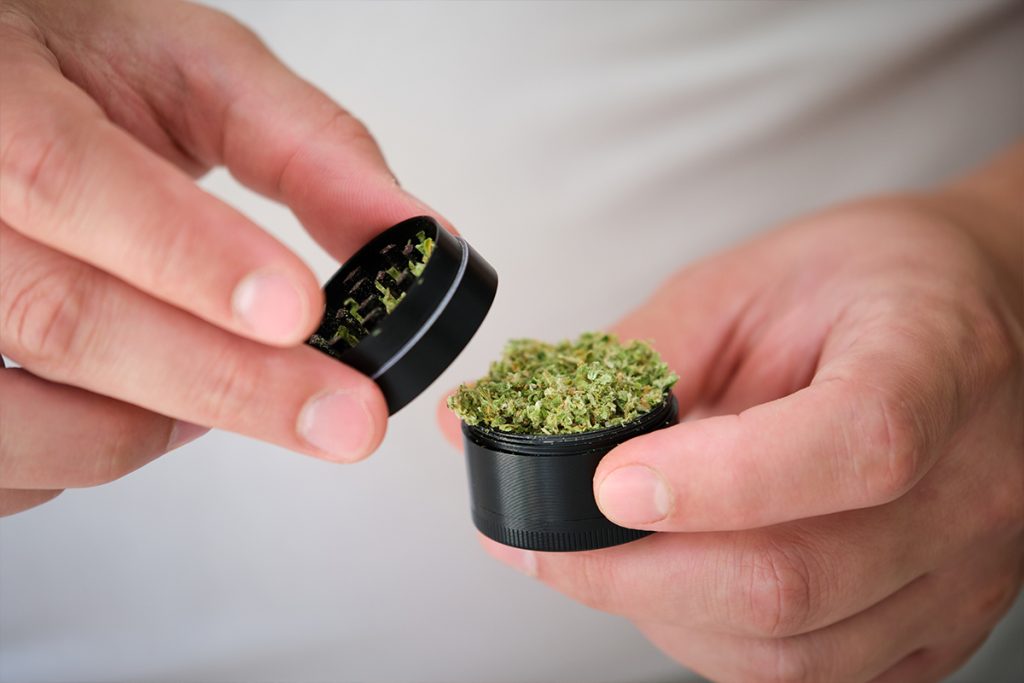
Step 1: Grind the Cannabis
For a regular-size 1¼-inch paper, grind approximately a half gram of cannabis flower, removing any stems. Aim for a fine consistency but do not pulverize it. A grinder can expedite the process and ensure a consistent texture.
Pro tip: Carefully examine your cannabis buds and remove any stems you come across. These stems pose a risk to your joint as they could potentially puncture the paper or disrupt an even burn, and may damage your grinder over time. It’s good practice to inspect your cannabis after grinding as well to feel for seeds, stems, or plastic bits if using a plastic grinder.
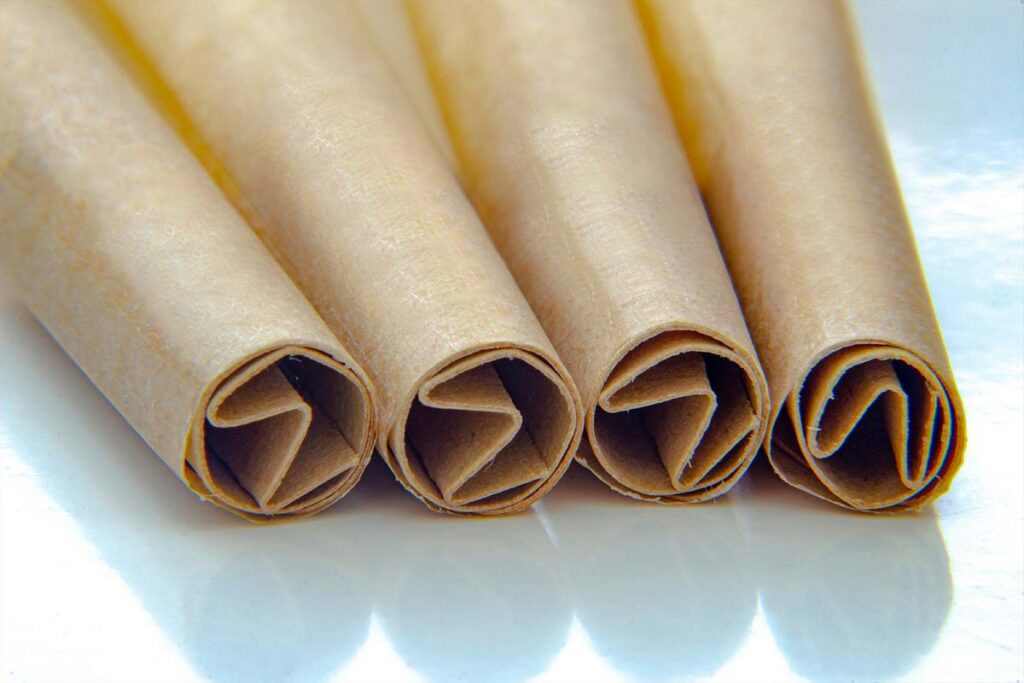
Step 2: Create a Crutch or Filter (Optional)
If not using a pre-made tip, create a crutch by folding a tip from your booklet. For the classic S or W tip, start by making a tiny fold of around 1/8 of an inch on one of the short ends of the paper and then make an equal fold in the opposite direction. It should feel like you’re folding a very tiny accordion. (3 folds for S shape, 4 folds for W shape) Once that’s done, roll the rest of the cardboard around it. This provides structure and shape and prevents cannabis from falling out and into your mouth while you smoke.
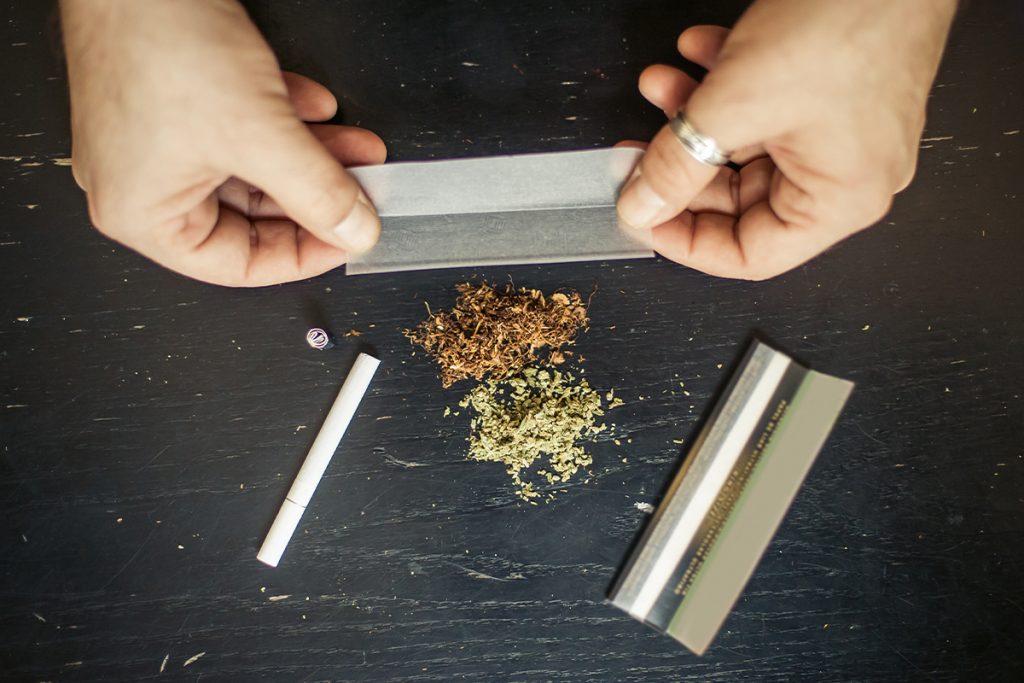
Step 3: Set Up the Rolling Paper
When you tug your rolling paper out of its packaging, you’ll notice it has a crease. This is where you’ll place the cannabis. Position the paper with the glue line on the inside of the folded paper, facing you throughout the process. Hold the paper with both hands, using the tips of your index fingers on the inside of the crease and your middle fingers and thumbs on the outer sides. Your thumbs and index fingers maintain a tight grip on the paper, while your middle fingers provide support to keep the glue side upright.
Before adding any cannabis, assess the tension of the paper—it should be taut but not so tight that it feels like it might tear. If tearing occurs, don’t be disheartened; simply grab another paper and try again until you develop the muscle memory for the right tension.
Pro Tip: Take the folded paper between your thumbs and index fingers and roll it up and down to curl it along the crease, leaving a margin of around 1/8 of an inch on each side. This will give the paper more of a “U” shape that might help you roll the joint later. If the paper keeps slipping and you need more grip, lightly wet the tips of your index finger and thumb. If you lose any trace of the original crease, find it again by rolling the paper so that the front side facing you is only slightly below the glue line on the back side.
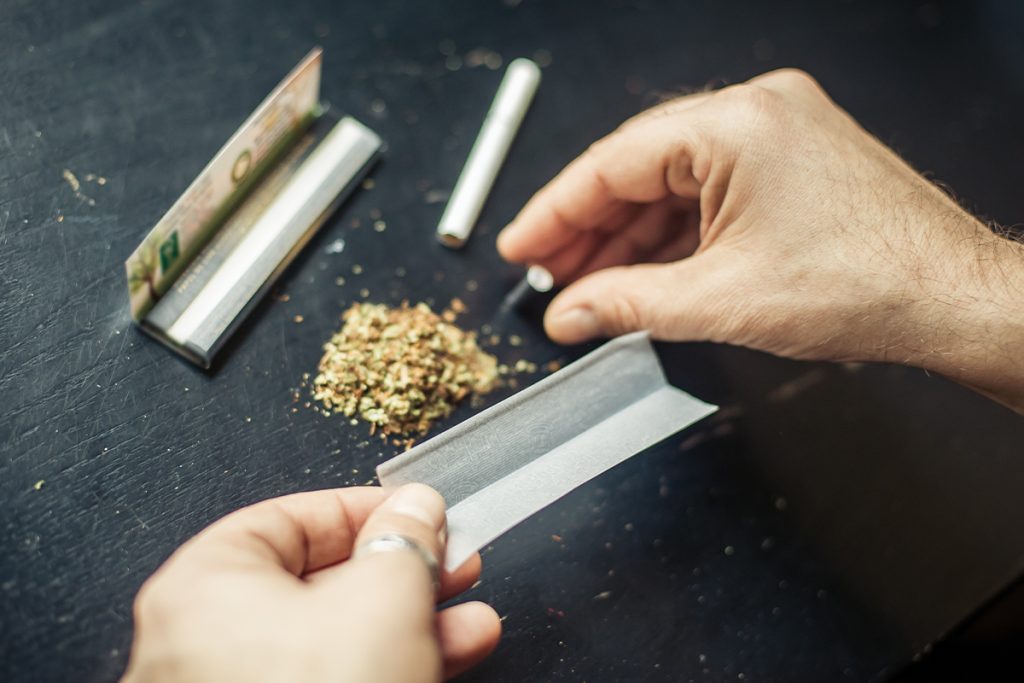
Step 4: Add the Tip
With the paper between your fingers, place the tip on one side and align the edges of the paper and tip. Preferably your dominant hand side as this will be the bottom of the joint. Use your index, middle finger, and thumb to secure the tip, preventing it from moving.
Pro tip: If you have a hard time keeping the tip in place, slightly lift the loose end of your tip and slide a half an inch of the paper into the roll. Finish by slightly rolling the tip upward. This will prevent the tip from moving around which will later make the rolling process easier. If you want to create a cone shape, insert the rolling paper into the tip at a slight angle.
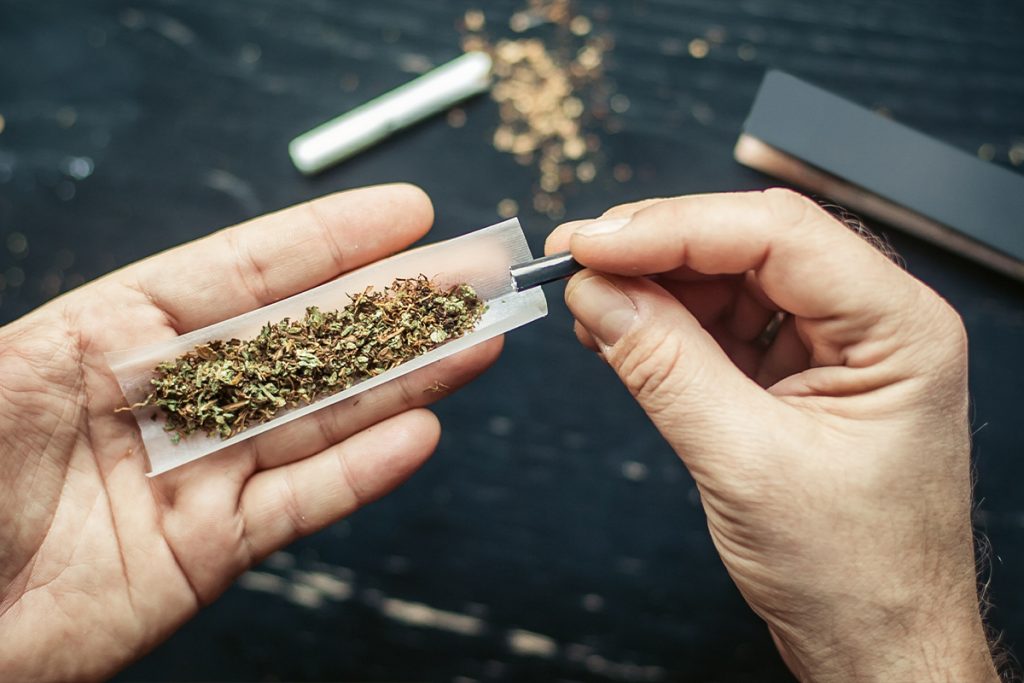
Step 5: Fill the Rolling Paper with Cannabis
Using your opposite hand, place your ground cannabis into the crease of the rolling paper. Take breaks intermittently to ensure the weed is well-placed and pinch the joint to give it the desired shape. Eliminate any air pockets, especially around the junction of the cannabis and the tip. The presence of empty spaces may lead to an uneven burn, causing a phenomenon known as a “canoe”. This occurs when one side of the paper burns faster due to the absence of material to impede the heat, resulting in wasted cannabis and an altered taste experience from the burning paper smoke. Take your time in shaping the joint, aiming for a tight and even pack. This skill improves with practice.
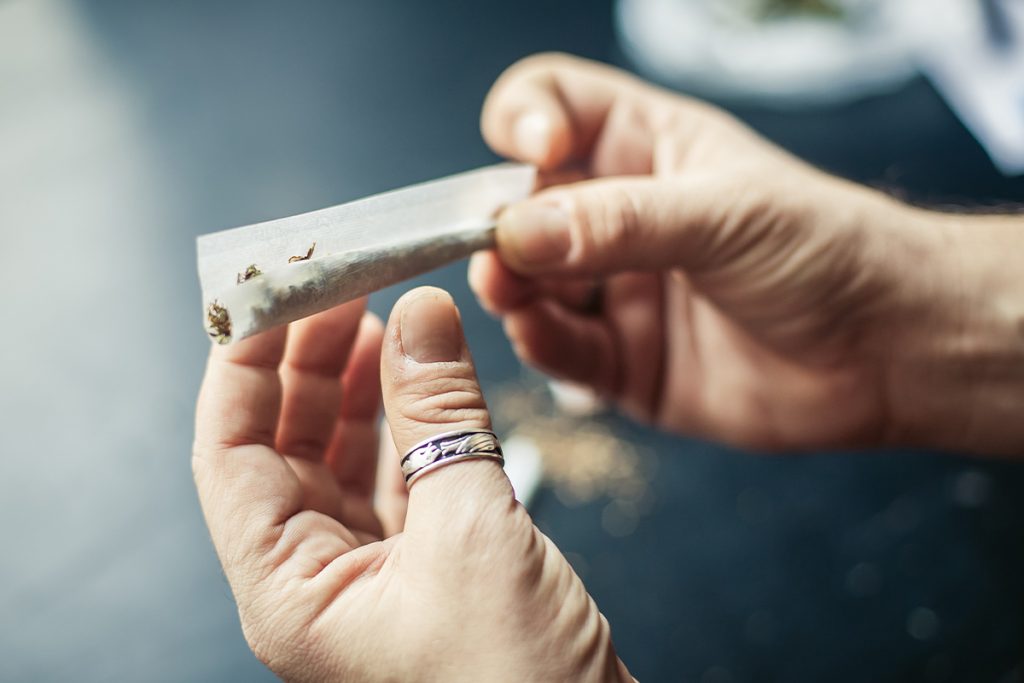
Step 6: Roll the Joint
Now is the moment you’ve been waiting for: Rolling. Using your middle fingers as support, use your indexes and thumbs to roll the front side of the paper down so it can only cover the weed and tip. Reposition your index fingers to cover the insides of the joint with the front side of the paper and slightly roll it up upward. This is by far the hardest part: Your goal is to securely tuck the front side of the paper between the cannabis and the back of the paper as tightly as possible, so you can continue rolling up. While you try this, you’ll probably lose a lot of the tension you’ve been building up to this point, so don’t be afraid to go back and forth until you get the tucking right. This is all part of the process and it’ll become easier with practice. Once the front of the paper is tucked behind the cannabis as tightly as you can, release your index fingers and continue rolling your joint up to the glue line. Finish by licking the line to add a little bit of paper and securing the joint by rolling it until the end. It’s possible that your joint is still not nearly as tight as you’d like it to be, but that’s OK. First, it’s part of learning, and second, you can still make it a bit tighter if you want.
Pro tip: Start with the crutch side as it can help guide the paper as it rolls around itself.
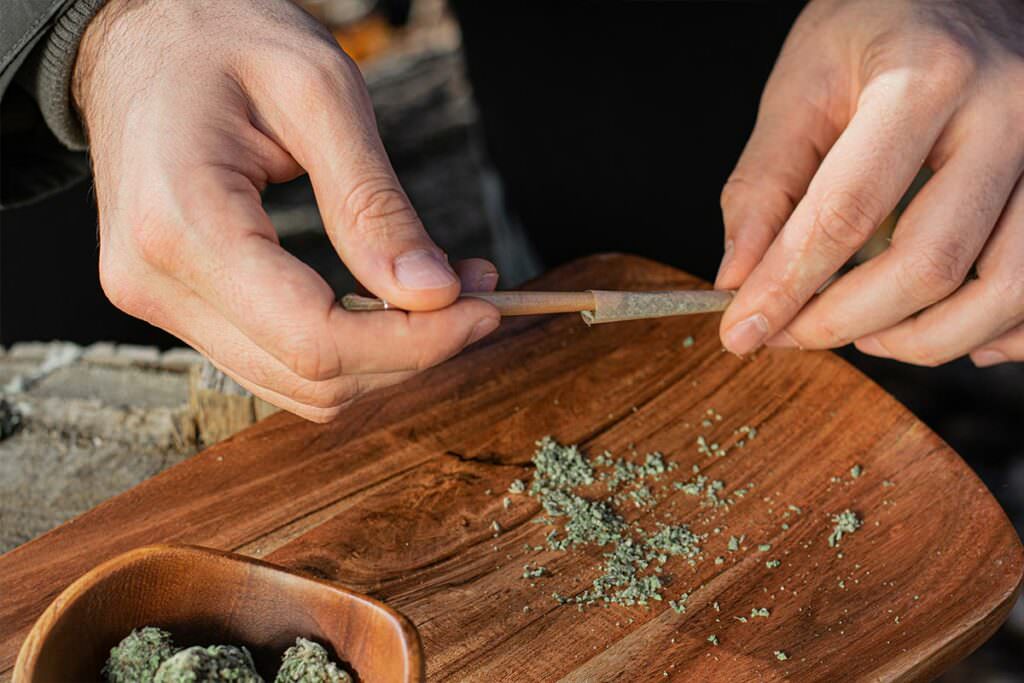
Step 7: Pack the Joint
Pick up your joint by its tip and light tap it against a flat surface. Gravity will push the cannabis farther down. Add your extra ground cannabis and to achieve a consistent burn, gently pack the open end of the joint. A slender object, such as a pen or pencil will work for this.
Step 8: Close up the Joint:
Finally, use your index finger and thumb to gently twist the paper at the top of your joint and enjoy!

